| Home Page | Updatemydynaco Store |
|---|
First came the PAT-4 Preamp and the Stereo 120 Power Amp. Then came the Stereo 80, a slightly lower power version of the Stereo 120. The SCA-80Q was an integrated amp that combined a preamp based on the PAT-4 with a power amp based on the Stereo 80. The combination was dubbed the SCA-80 Integrated Amplifier. At some point, the Dynaco Quadaptor function was built in, and the result was the SCA-80Q.
My impression is that this was a very popular integrated amplifier. That impression is confirmed by the large number that have survived for 40 or more years.
Q. My SCA80 has developed a pretty bad hum. What's likely to be the problem?
A. C9 has probably gone bad. Of all the caps in an SCA80, it tends to be the first to go. Why does that cap fail so often? There are two
identical caps in the amp, the two speaker coupling caps, and they don't fail nearly as often. Temperature is the answer. Temperature is
the enemy of reliability. C9 sits right next to the PC-19 board that has 4 power resistors. Each one of the four resistors dissipates
36^2/400=3.24 Watts. Therefore, the four resistors dissipate 13 Watts. That's definitely an unlucky number for C9. If you put your hand
over an operating SCA80, you'll definitely feel the warmth coming from those resistors. It's that warmth that cooks C9 to an early death.
Now, this is all relative. Can we really complain about a cap that lost its mojo after 30 or 40 years? Probably not, but we can replace those caps, and maybe get another 30 years. And we can make it better. That's the idea behind the SCA80C9 kit. The caps in the SCA80C9 kit aren't as tall as the original caps, so they probably are in a bit cooler spot. They're also brand new. Finally, there's three of them, and they have a total capacitance that's about twice what was in the original amp. That makes for lower hum and better bass. Still, perhaps the best answer, eventually, is to update the amplifier circuits to eliminate those power resistors. See below!
Q. Are there any other sources of hum to worry about?
A. C11, the filter cap for the preamp section, often loses its capacitance, too. We make a C11 replacement kit that upgrades all of the low voltages (24 Volts for the high level stages, and 17.5 for the phono preamp) to low noise, electronically regulated supplies that don't change with either load changes, or changes in the line voltage. This makes your SCA80 really clean and quiet. SCA80C11 kit.
Q. Will the DRD4 (Distortion Reducer Kit for the PAT-4 Preamp) work in the SCA-80's preamp?
A. Yes, it will work, but it provides no real benefit. The high-level section of the PAT-4 preamp runs on 38 Volts and has a 600 Ohm
collector load resistor. The SCA-80Q preamp's high level section runs on 24 Volts and has a 3300 Ohm collector load resistor. That results
in very different operating points. The result is that the DRD-4 makes a dramatic difference to the PAT-4, but very little difference to the
SCA-80Q.
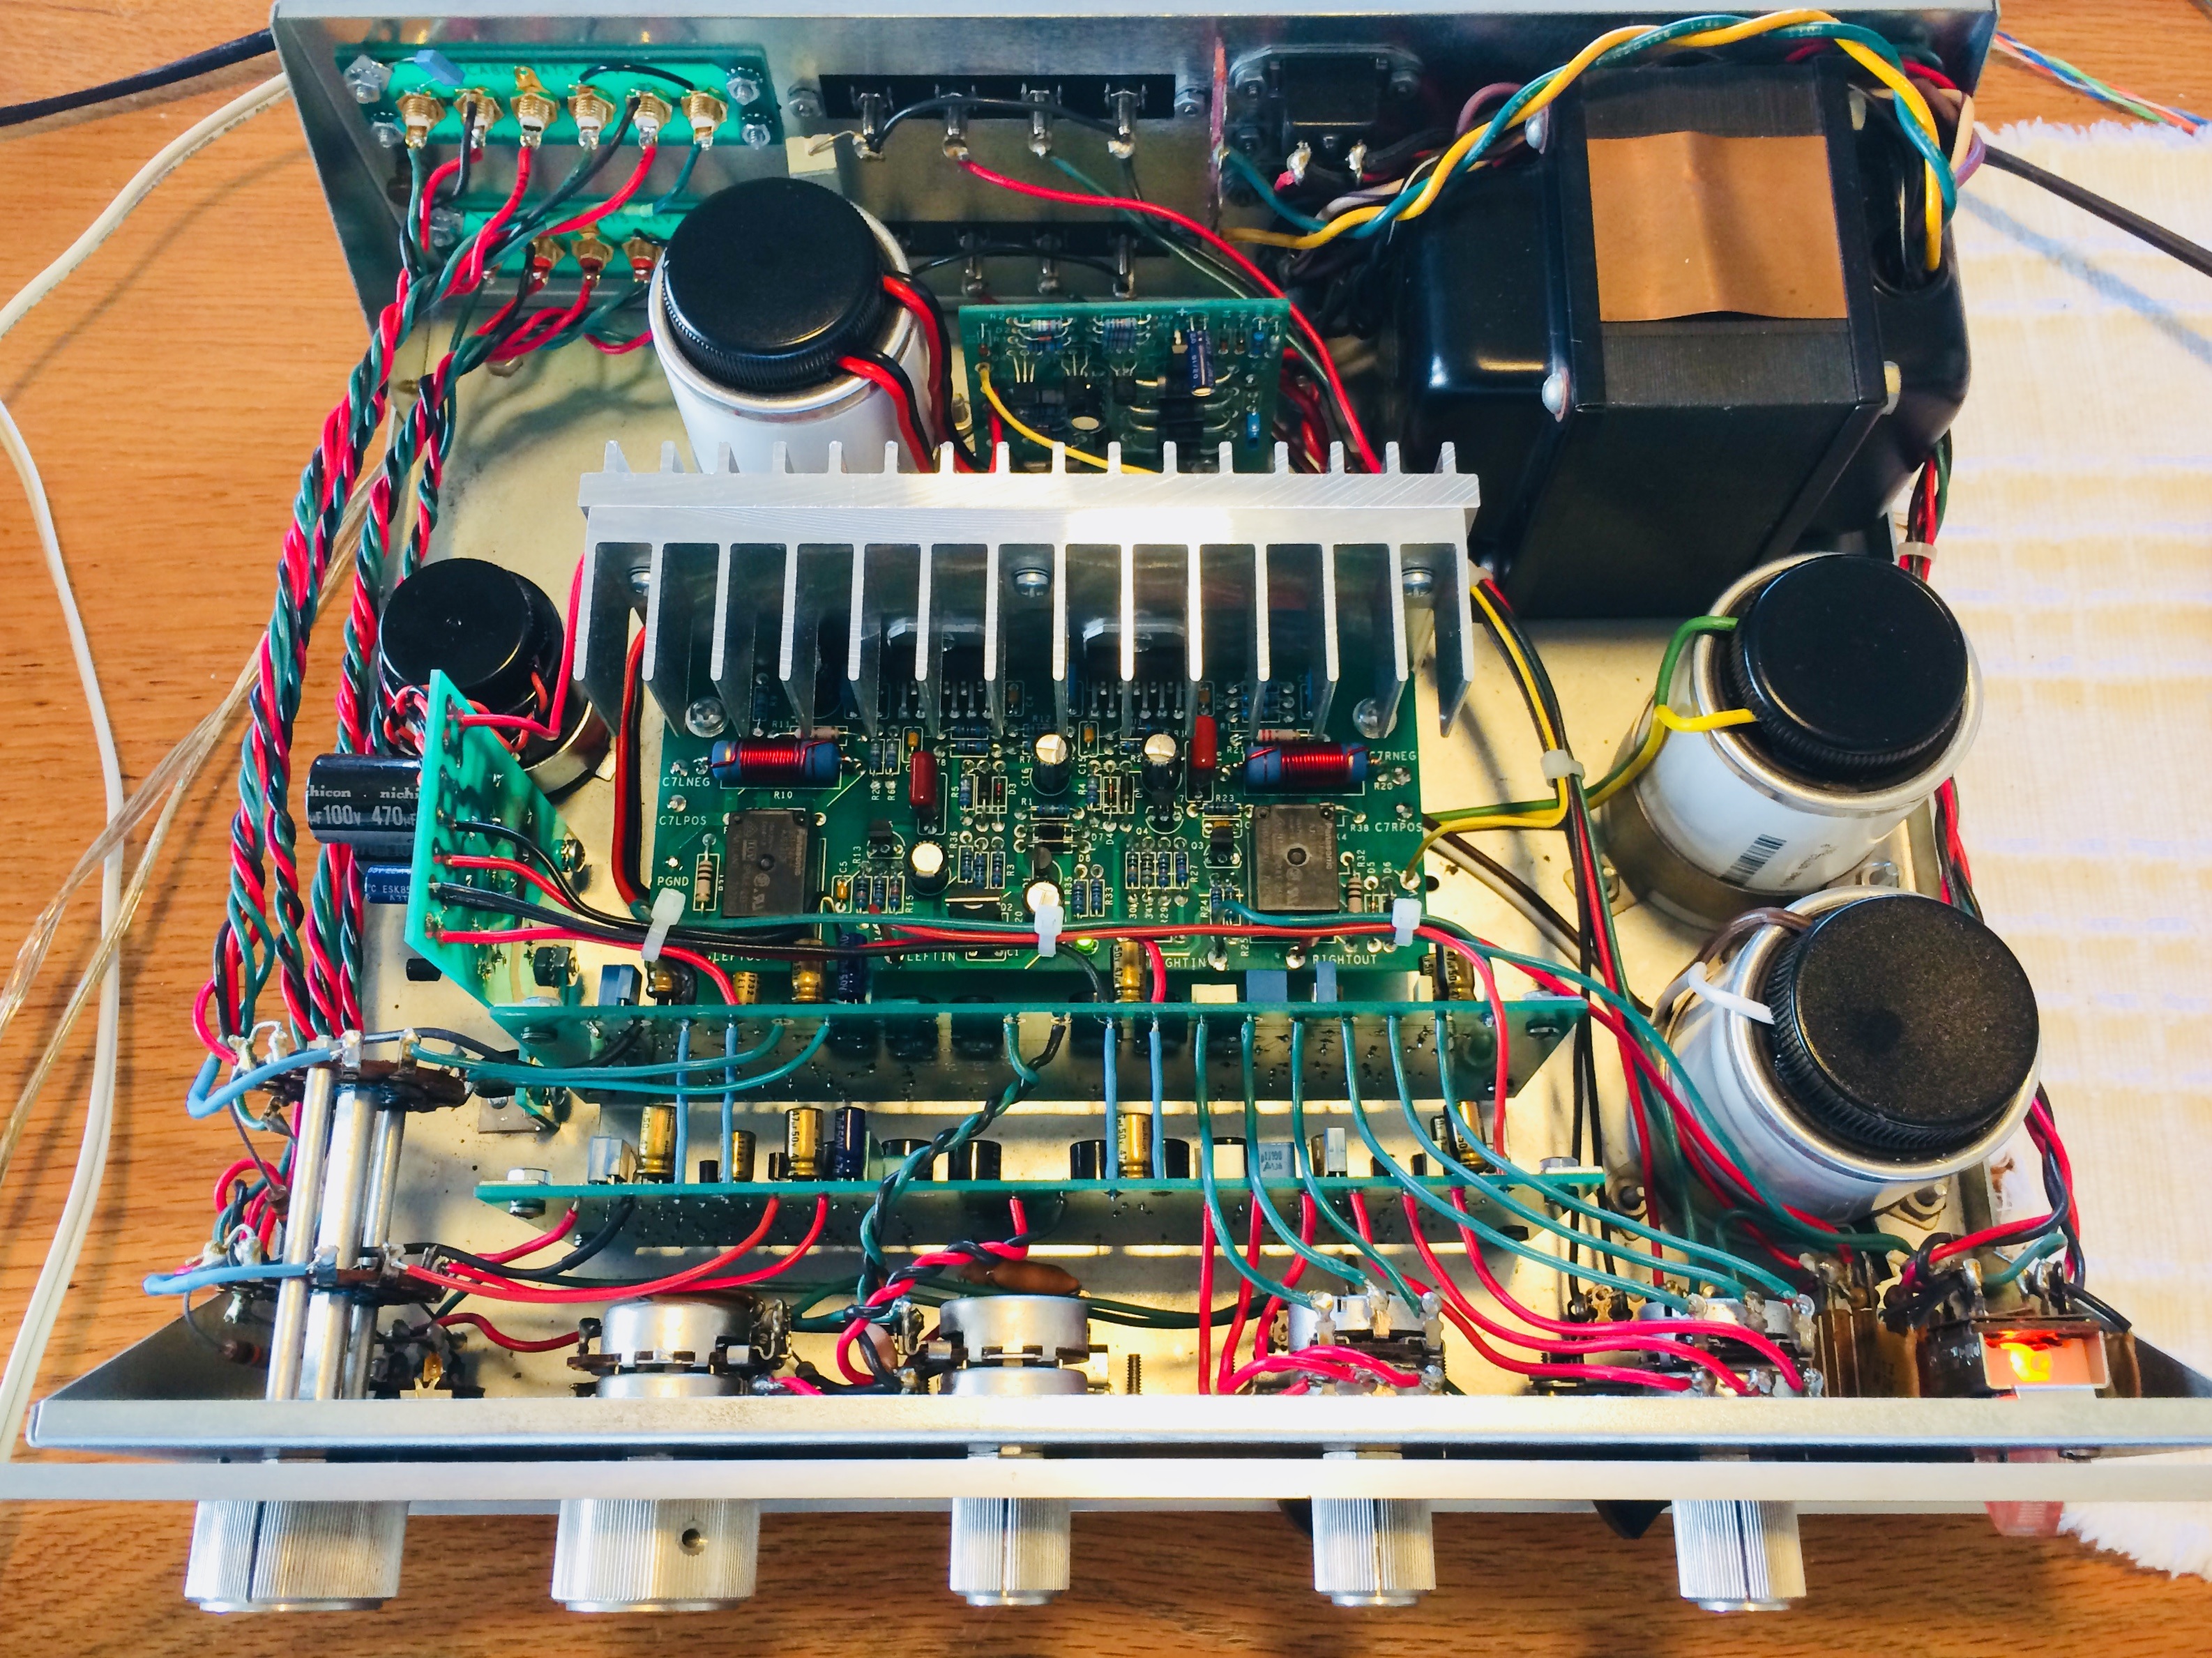
SCA-80 with upgraded power supply and power amp kit installed
Q. Is there a kit to replace the power amps in the SCA-80Q?
A. Yes there is! This kit replaces the power supply and power amp boards.
It includes:
This is a sweet kit. Like the stereo 120 upgrade kits, it provides much cleaner power than the original. It builds nicely, and drops into your SCA80(Q). You can take a look at the assembly manual here. It contains a detailed theory of operation section that will help you understand the design. You can buy the kit here.
Q. Is there a kit to upgrade or freshen up the preamp section?
A. Yes, there is...it's the SCA80PREDO kit. It's a complete set of replacement components for the SCA80's preamp circuit boards.
The result is a much quieter and cleaner preamp section. WARNING This kit is a lot of work!!! A number of customers have done the kit with only solder-wick and a tooth-pick. However, as lazy as I am, I wouldn't do it without a vacuum de-soldering tool. That gives you the best chance of removing and the old and re-installing the new without damaging the PCB. It should work out well either way if you're willing to go slowly, and take lots of breaks!
Q. Is there an easier way to upgrade the preamp section?
A. Yes, there is! It's the SCA80PRENEW kit. It has new PCB's, all new components, and an improved circuit design. It has a powerful combination of Darlington connected transistors in a bootstrap topology that drops distortion to ridiculously low levels. The preamp has a nice ground plane to reject noise. The phono preamp has added RF immunity, a built-in high pass filter to reject power-robbing infrasonics, and 1% capacitors for very accurate RIAA equalization. I'm probably charging too little for this kit! It sounds really great.
Q. How are the knobs held on?
A. The knobs have 5-40 allen-head (hex) set screws. You'll need a 1/16" Allen wrench to undo them.
Does your SCA80 hum a lot more than it ever did? The biggest SCA-80 problem after all of these years is typically loss of capacitance. If your SCA-80 is humming, then the big filter caps, C9 and C11, are probably circling the drain. As you might imagine, I've developed two new kits for your SCA80Q:
Above, you can watch a video showing the effect of a bad C9, and how you can replace it.
Jon D (different than John, below) did a complete upgrade of his SCA80: new caps, new RCA jacks, new power amp, new preamp boards, and some other very nice touches that were Jon's own enhancements. We'll letter-spacing the picture speak for itself.

Here's what Jon had to say:
Dan,
Attached is pix of a fully upgraded SCA-80Q that I finished working on a few days ago. I thought about recapping the boards and I'm really happy I didn't waste my time on that approach. This control amp now has an effortless sound about it that easily drives two rescued and rebuilt four-way ported loudspeakers with 12" woofers. The bass has punch, the mids are solid and the highs are clear - all at the same.
The large cans (C9 and both C7's) hold caps from you and you'll recognize the five circuit boards plus the input jack set.
I'm a fan of soup bowls and make it a point to take frequent breaks when assembling your kits. The payoff is huge: no smoke at first switch flip and really, really good sound.
Anyone with a Dynaco SCA-80 or SCA-80Q who wants a trip down memory lane that leads to an amazing price/performance ratio should look into a full upgrade with your carefully designed and well documented kits.
Jon D
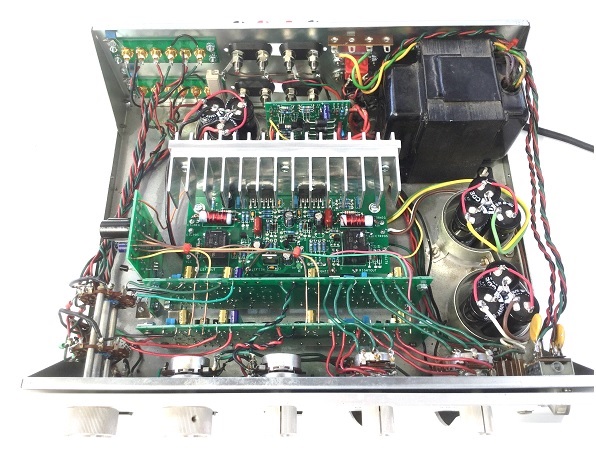
John did a complete upgrade on the SCA80Q. He installed
Here's his story in his own words
Dan,
I finished my SCA80Q. The only thing left is to get new feet. What a fun project. Pulling out the preamp boards gave me a chance to clean up some of the soldering connections on the controls, switches and input selector. The power amp was a joy to work on, like all your kits.
The preamp boards were more challenging, but not bad. I pulled all the components off then used solder wick to remove the excessive solder and a #57 drill bit to open up the holes. I marked the unused holes in the center of the board with a felt tip marker. Then I didn't have to waste time opening them up and it made it easier find the correct holes for the resistors when I started stuffing the boards. I measured each resistor and compared it to the old resistor on the other board. This way I double checked to make sure the resistor was in the proper place. I noticed a lot of the old carbon resistors had gone up in value. A 47k might be 52 or 53k. The new resistors were almost always within an ohm or 2 of the desired value.
I always liked the SCA80Q and think it is much better than it's given credit for. The restored SCA80Q is a great amp. The first thing I noticed was how quiet it was. I didn't expect that. The old amp was very musical, but not very quiet. I tested it with headphones before I replaced the speaker terminals. With the volume at 12:00 it amazed me how quiet it was. I think the amp is much more transparent than it was. The bass is very deep although it doesn't have the slam the Stereo 400 has, I didn't expect it would.
I don't know how many SCA80Q kits you sell. But if people knew how easy these are to work on, and how terrific the results are, they would be among your best sellers.
I follow a number of vintage audio sites on Facebook. People go on and on about their favorite Pioneer, Sansui, Marantz, and Kenwood amps from the "Golden Age" of audio. I would put my SCA80Q up against any 50 or 60 watt amp from that era.
Now if I could just get that "PAT5 line level kit component kit".....
Thanks and keep up the good work.
John

John's SCA80Q with upgrades
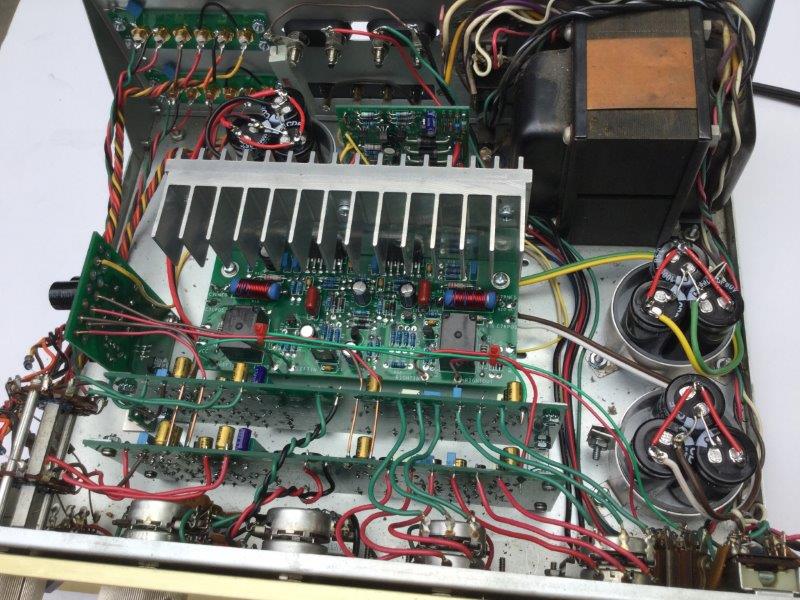
John M. sent me this picture of a full-monte SCA-80Q rebuild that he did. It includes
Here's a picture of a fully upgraded SCA80Q.

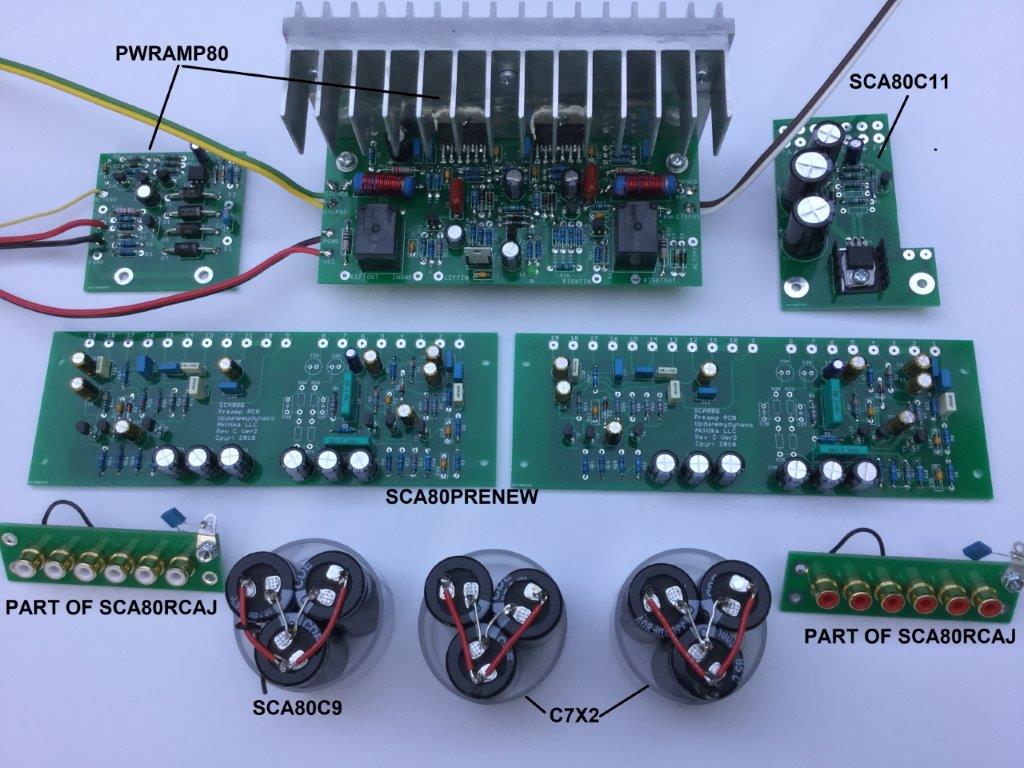
Here are all the upgrade kits for the SCA80 in one place. These kits have been assembled in preparation for installation. You will receive your kits as parts and PCB that you will assemble prior to installation. Not shown: ST80BP, binding post alternatives to the original speaker connectors.

You can change the equalization for the two high-gain positions of the selector switch, Phono and Special. This document was sent to me by Lon, who re-built is SCA-80Q. You can download the document here.
Lon was kind enough to also send along a copy of this historic document from Dynaco on Headphone Connections. I'm not sure that this is the right place to post it, since it's more general than the SCA-80, but at least it won't get lost this way!